Engraving quality and mechanics
How deep the SeedHammer II engraves, how to test a job, and what to tighten when text is faded.
Get the deepest engraving the machine allows on stock firmware v1.4.3 and fix text that fades or wobbles. Wear and spare parts: Hardware and spare parts. Heat: Heat and noise.
Use a public test wallet for test runs. Seed words are typed on the machine only and never pass through a phone, a computer or a chat assistant.
What you need
- The machine on firmware v1.4.3 ("Firmware: v1.4.3" at the bottom right of the start screen).
- A USB-C PD port with 20 V or 28 V at 5 A, preferably 28 V (power).
- The hex keys from the box, a drop of light oil, and low-strength threadlocker if you have it.
- For test runs: a spare plate and a public test descriptor sent with NFC Tools.
How deep it engraves
The needle engraves about 0.3 to 0.4 mm deep into the 3 mm steel plate; 1.5 mm is out of reach. No setting changes the depth, and it does not drift with use. 2 mm plates engrave but warp (Plates). Strike strength follows the supply voltage, the highest the charger offers between 20 V and 28 V. At 20 V each strike gets a slightly longer pulse. 28 V engraves deeper and crisper (unverified). Full procedure: Load a plate and engrave.
- Plug the cable from the box into the charger port that offers 28 V.
- Put a drop of light oil on the plate.
- If steel has built up on the needle tip, scrape it off with a fingernail.
- Close the lock firmly.
What the machine shows
- Homing: at power-up, before every job and after a job that ends normally, the head drives into its corner until both axes reach their stops, then to the plate's top-left corner.
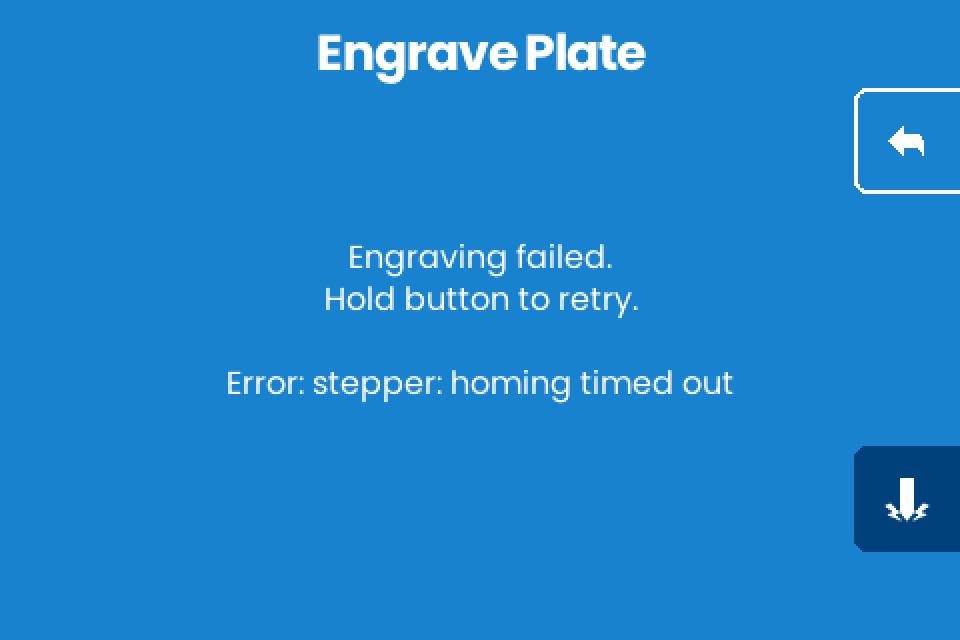
- "Engraving failed.": the head stays where it stopped. Next: Retry and restart.
- Any other error: Engraving errors.
Test a job without engraving a plate
v1.4.3 has no preview or dry-run mode (removed after v1.3.8). Test on the back of the test plate from the box, if yours came with one, or on a spare plate. Or unplug the solenoid.
Unplug the engraving solenoid
- Unplug the USB-C power.
- Unplug the 2-pin engraving solenoid plug in the middle of the controller board.
- Plug the power back in.
- Start the job. The countdown shows how long the real job takes.
- Watch where the head travels. It should run the whole job without striking (unverified on v1.4.3; it may stop with an error).
- Unplug the power.
- Plug the solenoid back in.
Take the play out of the axes
Each axis runs on a threaded shaft with a brass nut, driven by a stepper motor through a belt. Unplug the power first.
Brass nuts: words fade toward the end
- Loosen the set screw in the brass nut with the supplied hex key.
- Turn the nut until the slack is gone.
- Tighten the set screw again. Low-strength threadlocker on it is optional.
- Do the same on the other axis.
Pulleys: homing error, or an axis stands still while its motor turns
- Move both axes by hand. They should turn freely.
- Remove the left motor cover.
- Plug in the power.
- Watch the homing. A motor that turns while its axis stays still has a slipping pulley.
- Unplug the power.
- Tighten both set screws on each pulley with the smallest hex key, pressing the pulley against the frame.
- If play remains, loosen the locking nut on the other side.
- Tighten the pulley.
- Tighten the locking nut.
Belts and Y-axis holder: wavy or wobbly text
- Tighten the set screw on the Y-axis holder.
- Secure that set screw with threadlocker.
- Loosen the four M3 screws that hold the belt's stepper motor.
- Slide the motor along its slot to tension the belt.
- Tighten the four screws.
- Repeat on the other axis.
Needle and cables: the head moves but stops striking
- Press the engraving-head cable and the 2-wire cable fully into their sockets.
- Move the head to the right side by hand. Neither cable should pull.
- Unscrew the red head housing. The needle should move freely; spring resistance is normal.
- Oil the needle.
- Refit the housing.
- Run a test job from a port that offers 28 V at 5 A.
- If the head still stops, contact SeedHammer. It has sent replacement parts for this fault.
If it does not work
| Symptom | Cause | Fix |
|---|---|---|
| Shallower than the test plate from the box | A 20 V supply; the test plate was engraved at 28 V and may have run twice | Use a 28 V port (depth) |
| Words fade toward the end | X-axis play, a loose brass-nut set screw or a loose lock | Brass nuts; close the lock firmly |
| Wavy or wobbly text | A loose Y-axis holder set screw or a slack belt | Belts and Y-axis holder |
| The head stops striking partway, often on the right or in the QR | A weak supply, a loose cable or a sticking needle | Needle and cables |
| "Error: stepper: homing timed out" (older firmware: "Mjolnir2 homing timed out"), or the head scrapes the frame | A loose pulley | Pulleys |
| The head starts over the orange frame at power-up | Normal | None |
| A new machine leaves grease on the plate | Normal, in small amounts | None; the grease liquefies as the machine warms up |